Objects in the Sky
CelestialLayer draws things that do not belong to a position on the ground: a sun, a moon,
stars and constellation figures, a satellite pass, an aircraft overhead. Plus the camera modes that
let a map look at them.
Added in PR #55. The SDK has no notion of a sun or
a moon — the layer knows directions, sizes and colours; the astronomy lives in the app. Technical
notes: docs/internals/rendering/13-celestial.md.
Anchoring
An object is placed one of two ways:
import com.massifmaps.celestial.CelestialSprite
import com.massifmaps.layers.CelestialLayer

val sun = CelestialSprite().apply {
    setDirection(168f, 42f, 0.0)   // azimuth°, altitude°, distance — 0 = infinitely far
    angularSize = 0.53f            // degrees: the real sun and moon are both ~0.5°
    color = Color(0xFFFFF2C0.toInt())
    softness = 0.4f
    clickRadius = 2f               // degrees; 0 = not clickable
}

val plane = CelestialSprite().apply {
    setPosition(MapPos(5.72, 45.19), 11000.0)   // WGS84 position + altitude in metres
    screenSize = 24f                            // sized in pixels instead of degrees
    bitmap = planeBitmap
}

val layer = CelestialLayer()
layer.add(sun)
layer.add(plane)
mapView.layers.insert(0, layer)    // FIRST: the map and the terrain then draw over the sky
CelestialLayer, CelestialSprite and CelestialArc have no spec types, so this is object-API
today. Massif.adopt("sky-objects", layer) gives the layer an id, and its properties — including
postProcessed and visible — are then reachable by path. What is readable per class is in
value types.
- Distance 0 means infinitely far — the object keeps its direction whatever the camera does, so it never parallaxes when the map pans. That is what a sun, a moon or a star needs. A finite distance gives real parallax.
- Directions use the same frame as the sun in
LightOptions(x east, y north, z up, azimuth clockwise from north), so a computed sun direction can be handed straight over. - Add the layer first. Objects are depth-tested but never depth-writing, so a ridge in front of the sun hides it for free, and the sky content never occludes the map.
- Sprites are batched per bitmap — any number of objects sharing one bitmap, or none at all, is a single draw call. With no bitmap the shader draws a soft disc, which is enough for a sun, a moon or a star and costs no texture.
Arcs
CelestialArc is a line strip in the sky. The daily path of a distant body is a circle of constant
declination about the rotation axis, so the useful case is one call:
import com.massifmaps.celestial.CelestialArc

val sunPath = CelestialArc().apply {
    setCircle(0f, 45f, 66.5f)   // axis azimuth°, axis altitude° (≈ latitude), radius°
    width = 2f
    isBelowHorizonVisible = false
    color = Color(0x80FFD070.toInt())
}
setDirections(...) takes an explicit azimuth/altitude list for anything else, and
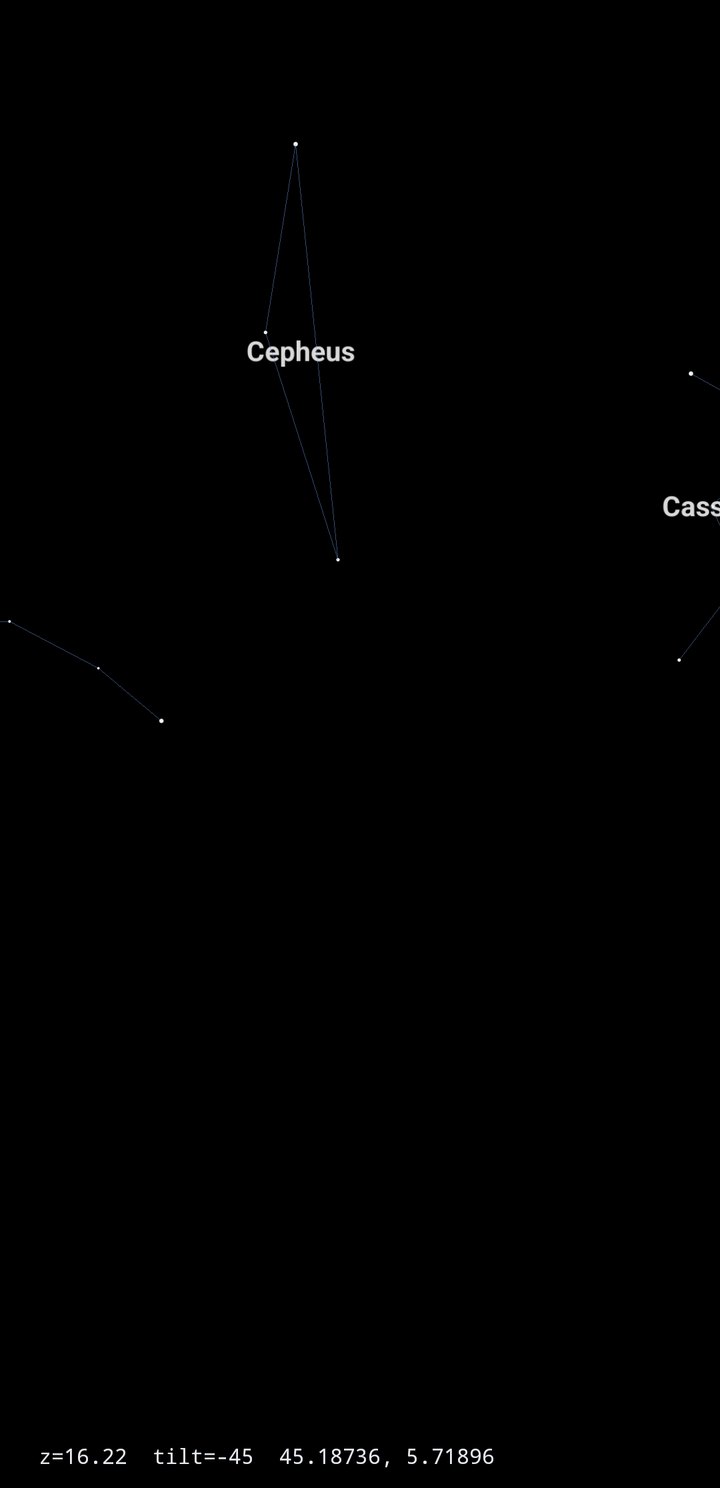
setSegments(...) reads that list as disjoint pairs instead of a path — so a whole constellation
figure is ONE object: one draw call, one clickable thing, one name.
Clicking
Objects are hit-tested against the touch ray through the normal layer path, so they sort against
every other layer's content: a click on terrain in front of the sun reports the terrain. The test is
angular (ClickRadius, in degrees) because a sprite half a pixel wide would be unhittable
otherwise. Register a CelestialEventListener on the layer.
A tap aimed at the sky has no map position at all; the SDK now asks the layers with the ray alone in that case, instead of dropping the touch as it used to.
Looking up: the camera
Sky content is off the top of the screen while the camera points at the ground. Three things make it reachable, and all three are opt-in.
Free roam
mapView.options.freeRoamMode = FreeRoamMode.FREE_ROAM_MODE_LOOK
mapView.options.freeRoamLookSensitivity = 90f   // degrees of turn per inch of drag
mapView.options.freeRoamMoveSpeed = 1.0f
| Mode | One finger | Two fingers | Camera model |
|---|---|---|---|
OFF (default) | pans the map | pan / pinch / rotate | tilt and rotation orbit the focus |
LOOK | looks around | pan / pinch / rotate | as above, except the heading turns about the camera |
FIRST_PERSON | looks around, position never changes | move: forward/back and strafe | the camera never orbits anything |
FIRST_PERSON is a camera model, not a gesture mapping: setTilt and setMapRotation driven by a
device orientation sensor behave exactly like the drag.
A negative tilt
The tilt may go below 0, which is "look up", but the default tilt range still stops at 0 — a map only gets there if it asks:
mapView.options.tiltRange = MapRange(-90f, 90f)
At a negative tilt the camera stays where the tilt geometry left it and only the view direction
pitches up. dist(camera, focus) is untouched, so zoom, the visible tile set and the near/far budget
all still mean what they meant.
Panning speed on a tilted view
On a tilted view an exact grab-the-world pan moves the map by kilometres near the horizon and by metres at the bottom of the screen — and re-derives the scale from wherever the finger is now, so a drag accelerates while the finger is down (measured at z15 tilt 65: 2160 m against 1186 m for the same 1300 px drag).
mapView.options.panningSpeedMode = PanningSpeedMode.PANNING_SPEED_MODE_ANCHORED
| Mode | Behaviour |
|---|---|
MAP | the exact grab-the-world pan |
ANCHORED (default) | measures the scale where the gesture starts, keeps it for the whole gesture |
CONSTANT | always measures at the centre of the screen |
The two new modes pan by the screen delta in the ground frame, so they also work with the view aimed at the sky, where there is no ground under the touch.
A transparent map
To draw the sky over a camera preview or over other UI, both halves are needed:
mapView.options.clearColor = Color(0, 0, 0, 0)   // premultiplied-alpha compositing
mapView.setTranslucent(true)
What each view can reveal differs:
MapView(SurfaceView) — composited below the window, so it can only reveal another surface under it;setTranslucentalso callssetZOrderMediaOverlay, which is what puts the map over a camera preview. Changing it after attach recreates the GL surface.TextureMapView(TextureView) — an ordinary view, so it blends with whatever is behind it in the layout. This is the one for a map over other UI.MSFMapView(iOS) —opaque = NOon the view and its layer.
See also
- Sky, Sun & Shadows — the sky itself, and the sun that lights the map.
- Post-processing Effects —
Layer.setPostProcessed(false)keeps sky objects out of a stylized pass.